Rebranding the WP htaccess Editor plugin allows you to customize the plugin with your own branding, including your logo, colors, and company information. Follow these steps to create a new brand and apply it to the plugin.
Steps to Rebrand the Plugin
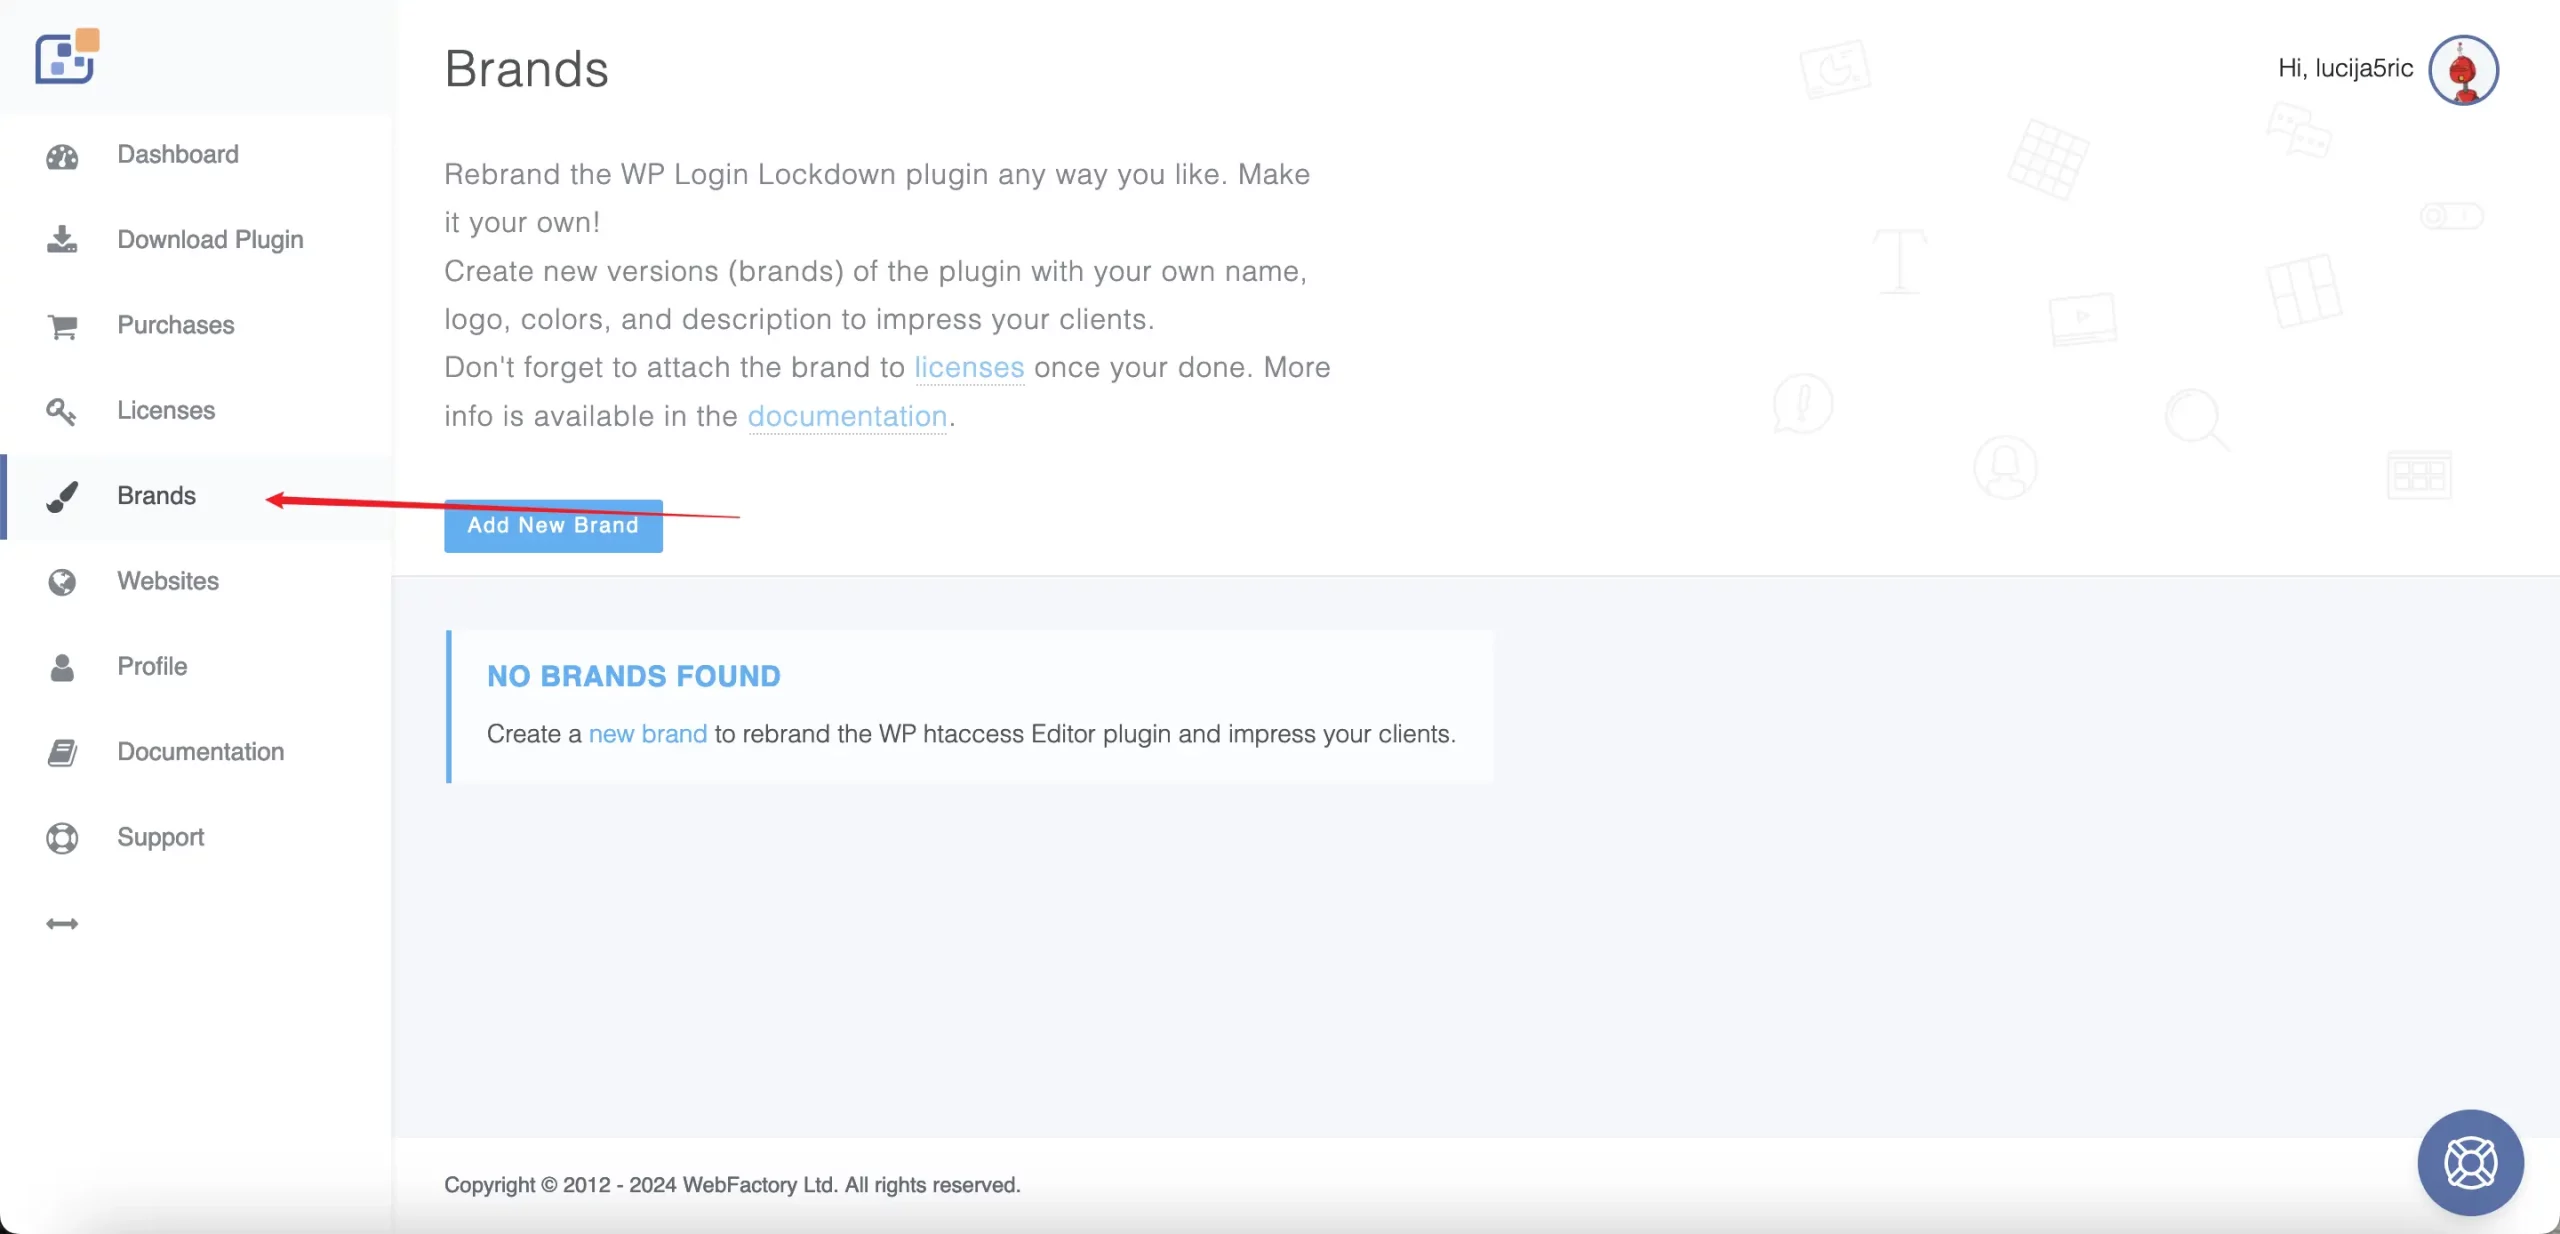
- Log in to the Dashboard:
- Navigate to the WP htaccess Editor Dashboard.
- Click on the “Brands” section from the left-hand menu.
- Add a New Brand:
- Click on the “Add New Brand” button.
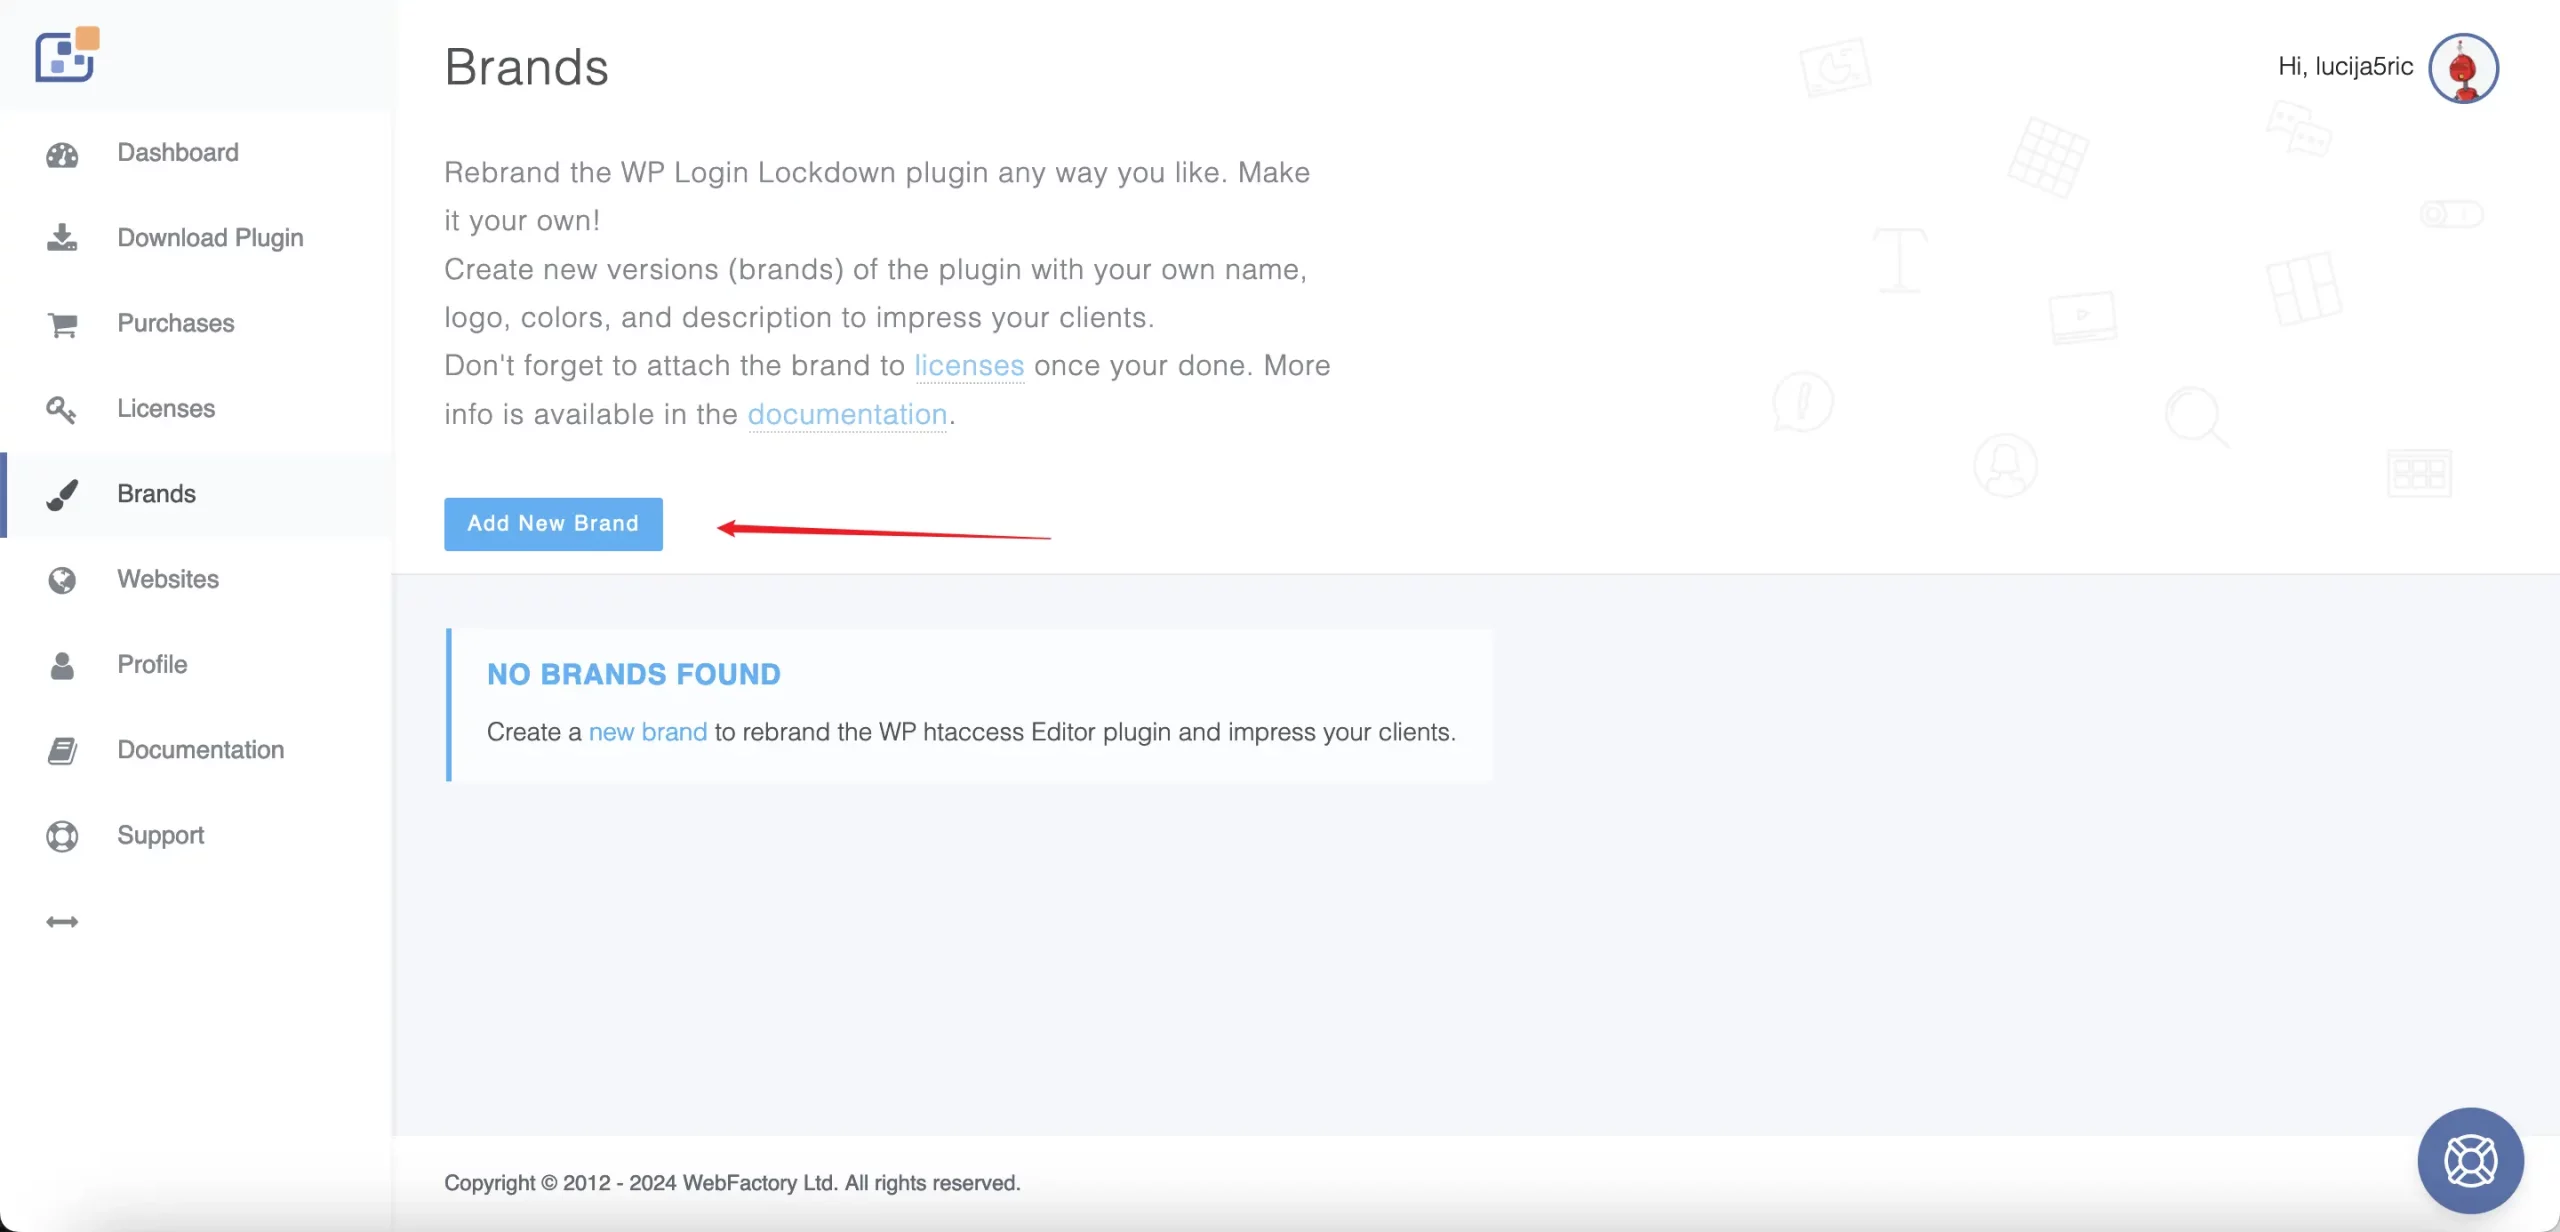
- Click on the “Add New Brand” button.
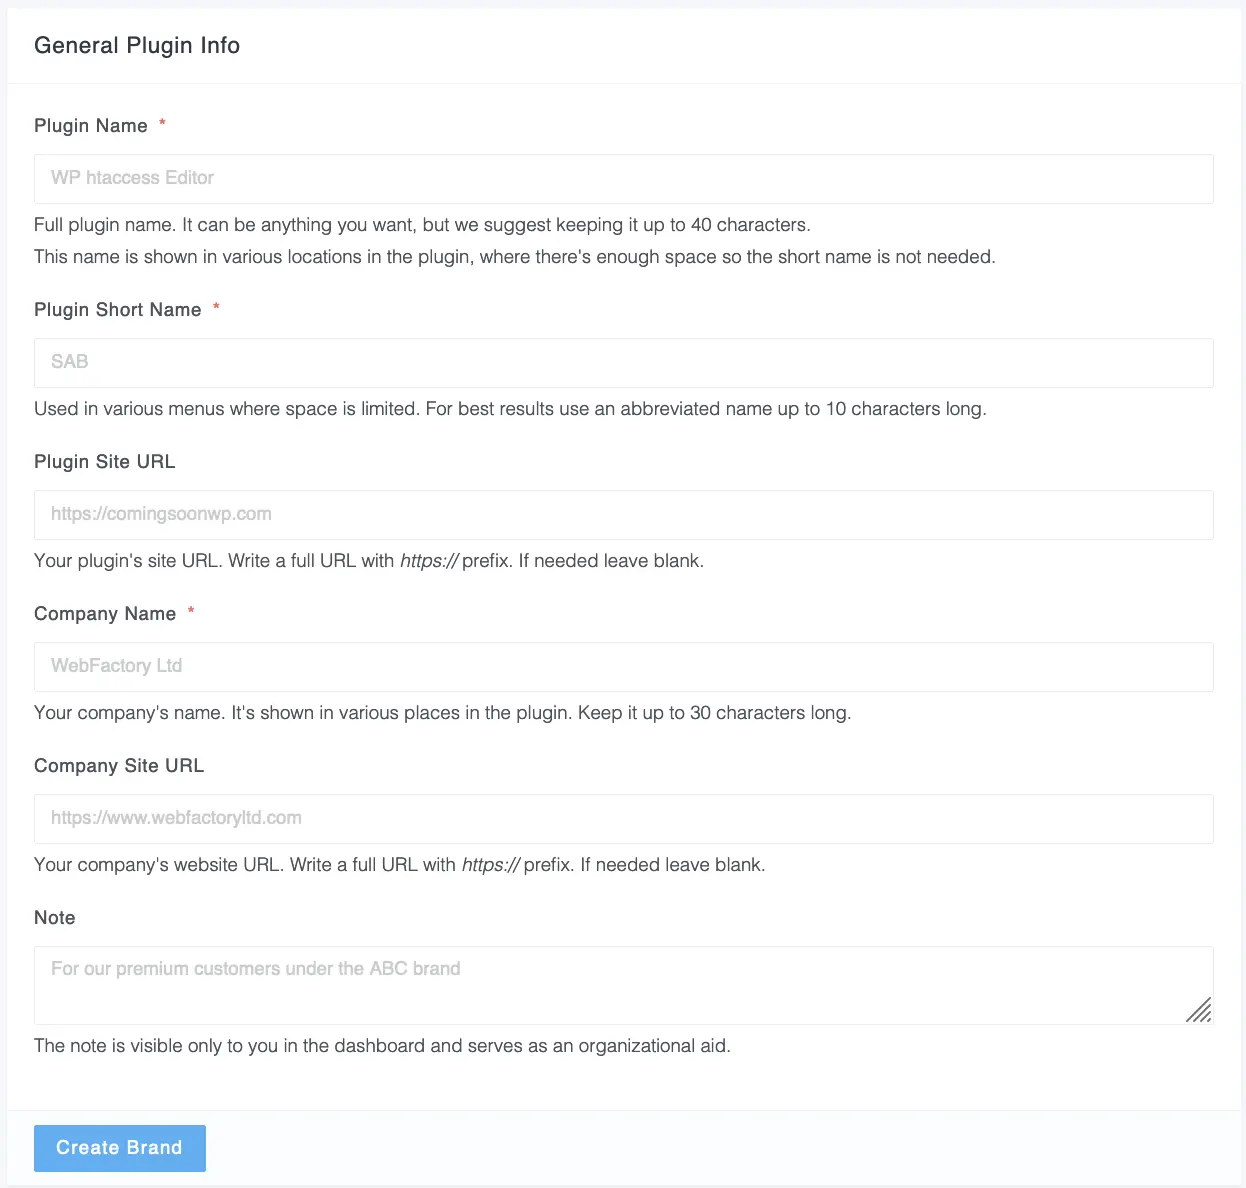
- Fill in Brand Details:
- Plugin Name: Enter the full name of your plugin. This can be anything you want, but we suggest keeping it up to 40 characters.
- Plugin Short Name: An abbreviated name used in various menus where space is limited. Use up to 10 characters.
- Plugin Site URL: Your plugin’s site URL. Write a full URL with https:// prefix. Leave blank if not needed.
- Company Name: Your company’s name. It’s shown in various places in the plugin. Keep it up to 30 characters.
- Company Site URL: Your company’s website URL. Write a full URL with https:// prefix. Leave blank if not needed.
- Note: Any notes for your premium customers. This is visible only to you in the dashboard and serves as an organizational aid.
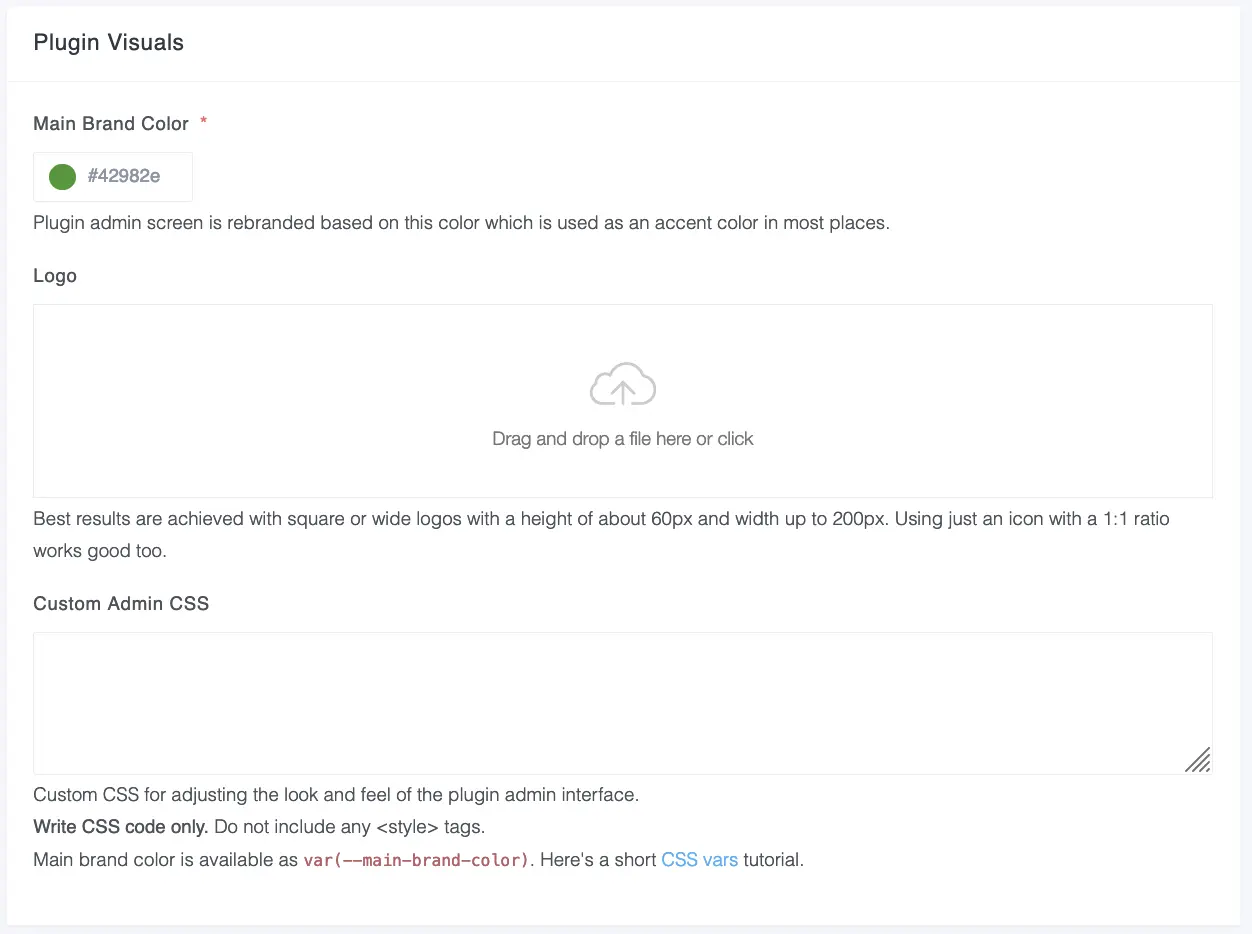
- Customize Plugin Visuals:
- Main Brand Color: Choose the main brand color. This color will be used as an accent color in most places in the plugin.
- Logo: Upload your logo. Best results are achieved with square or wide logos with a height of about 60px and width up to 200px. Using just an icon with a 1:1 ratio works well too.
- Custom Admin CSS: Add any custom CSS to adjust the look and feel of the plugin admin interface. Write CSS code only; do not include any style tags.
- Add Content:
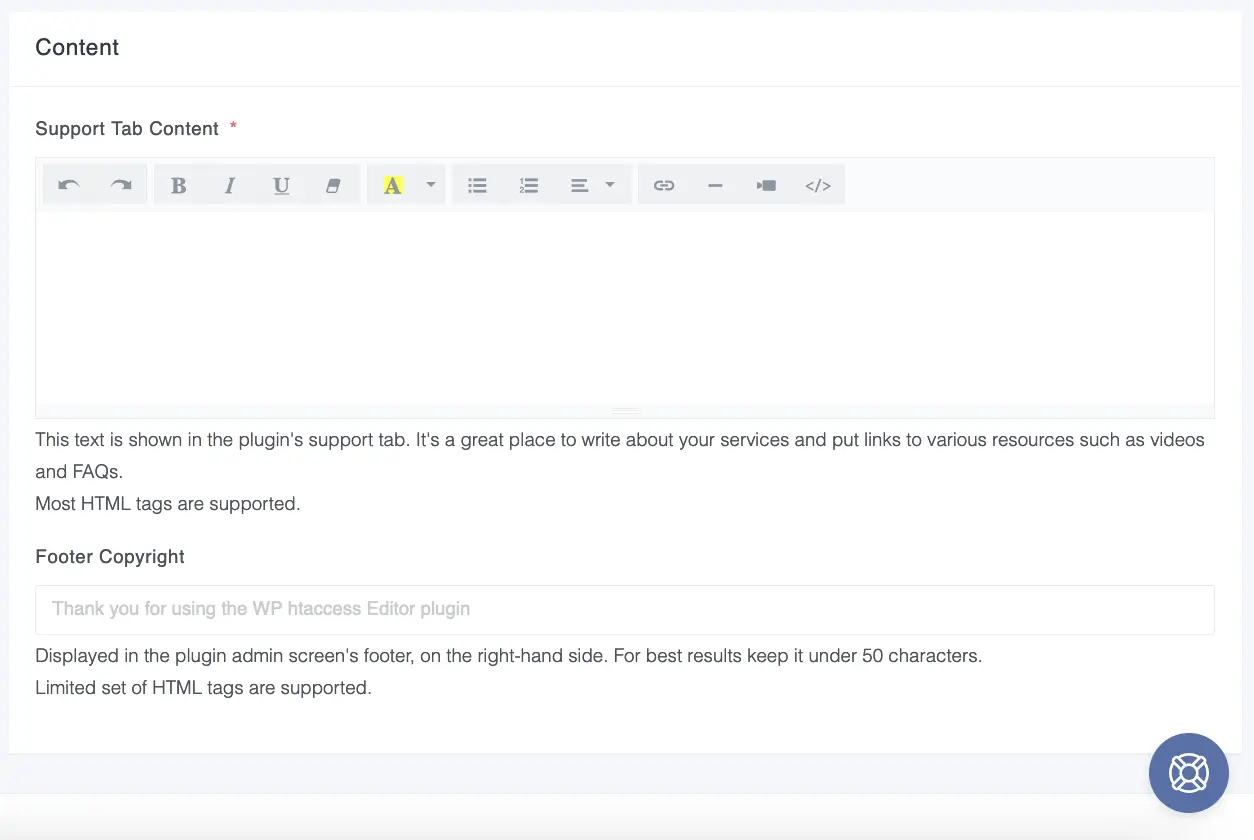
- Support Tab Content: Add any support-related content here. This text is shown in the plugin’s support tab and is a great place to write about your services and put links to various resources such as videos and FAQs.
- Footer Copyright: Add a footer copyright message. Displayed in the plugin admin screen’s footer on the right-hand side. Keep it under 50 characters.
- Create the Brand:
- Once you have filled in all the required fields, click on “Create Brand” to save your new brand.
Applying the Brand
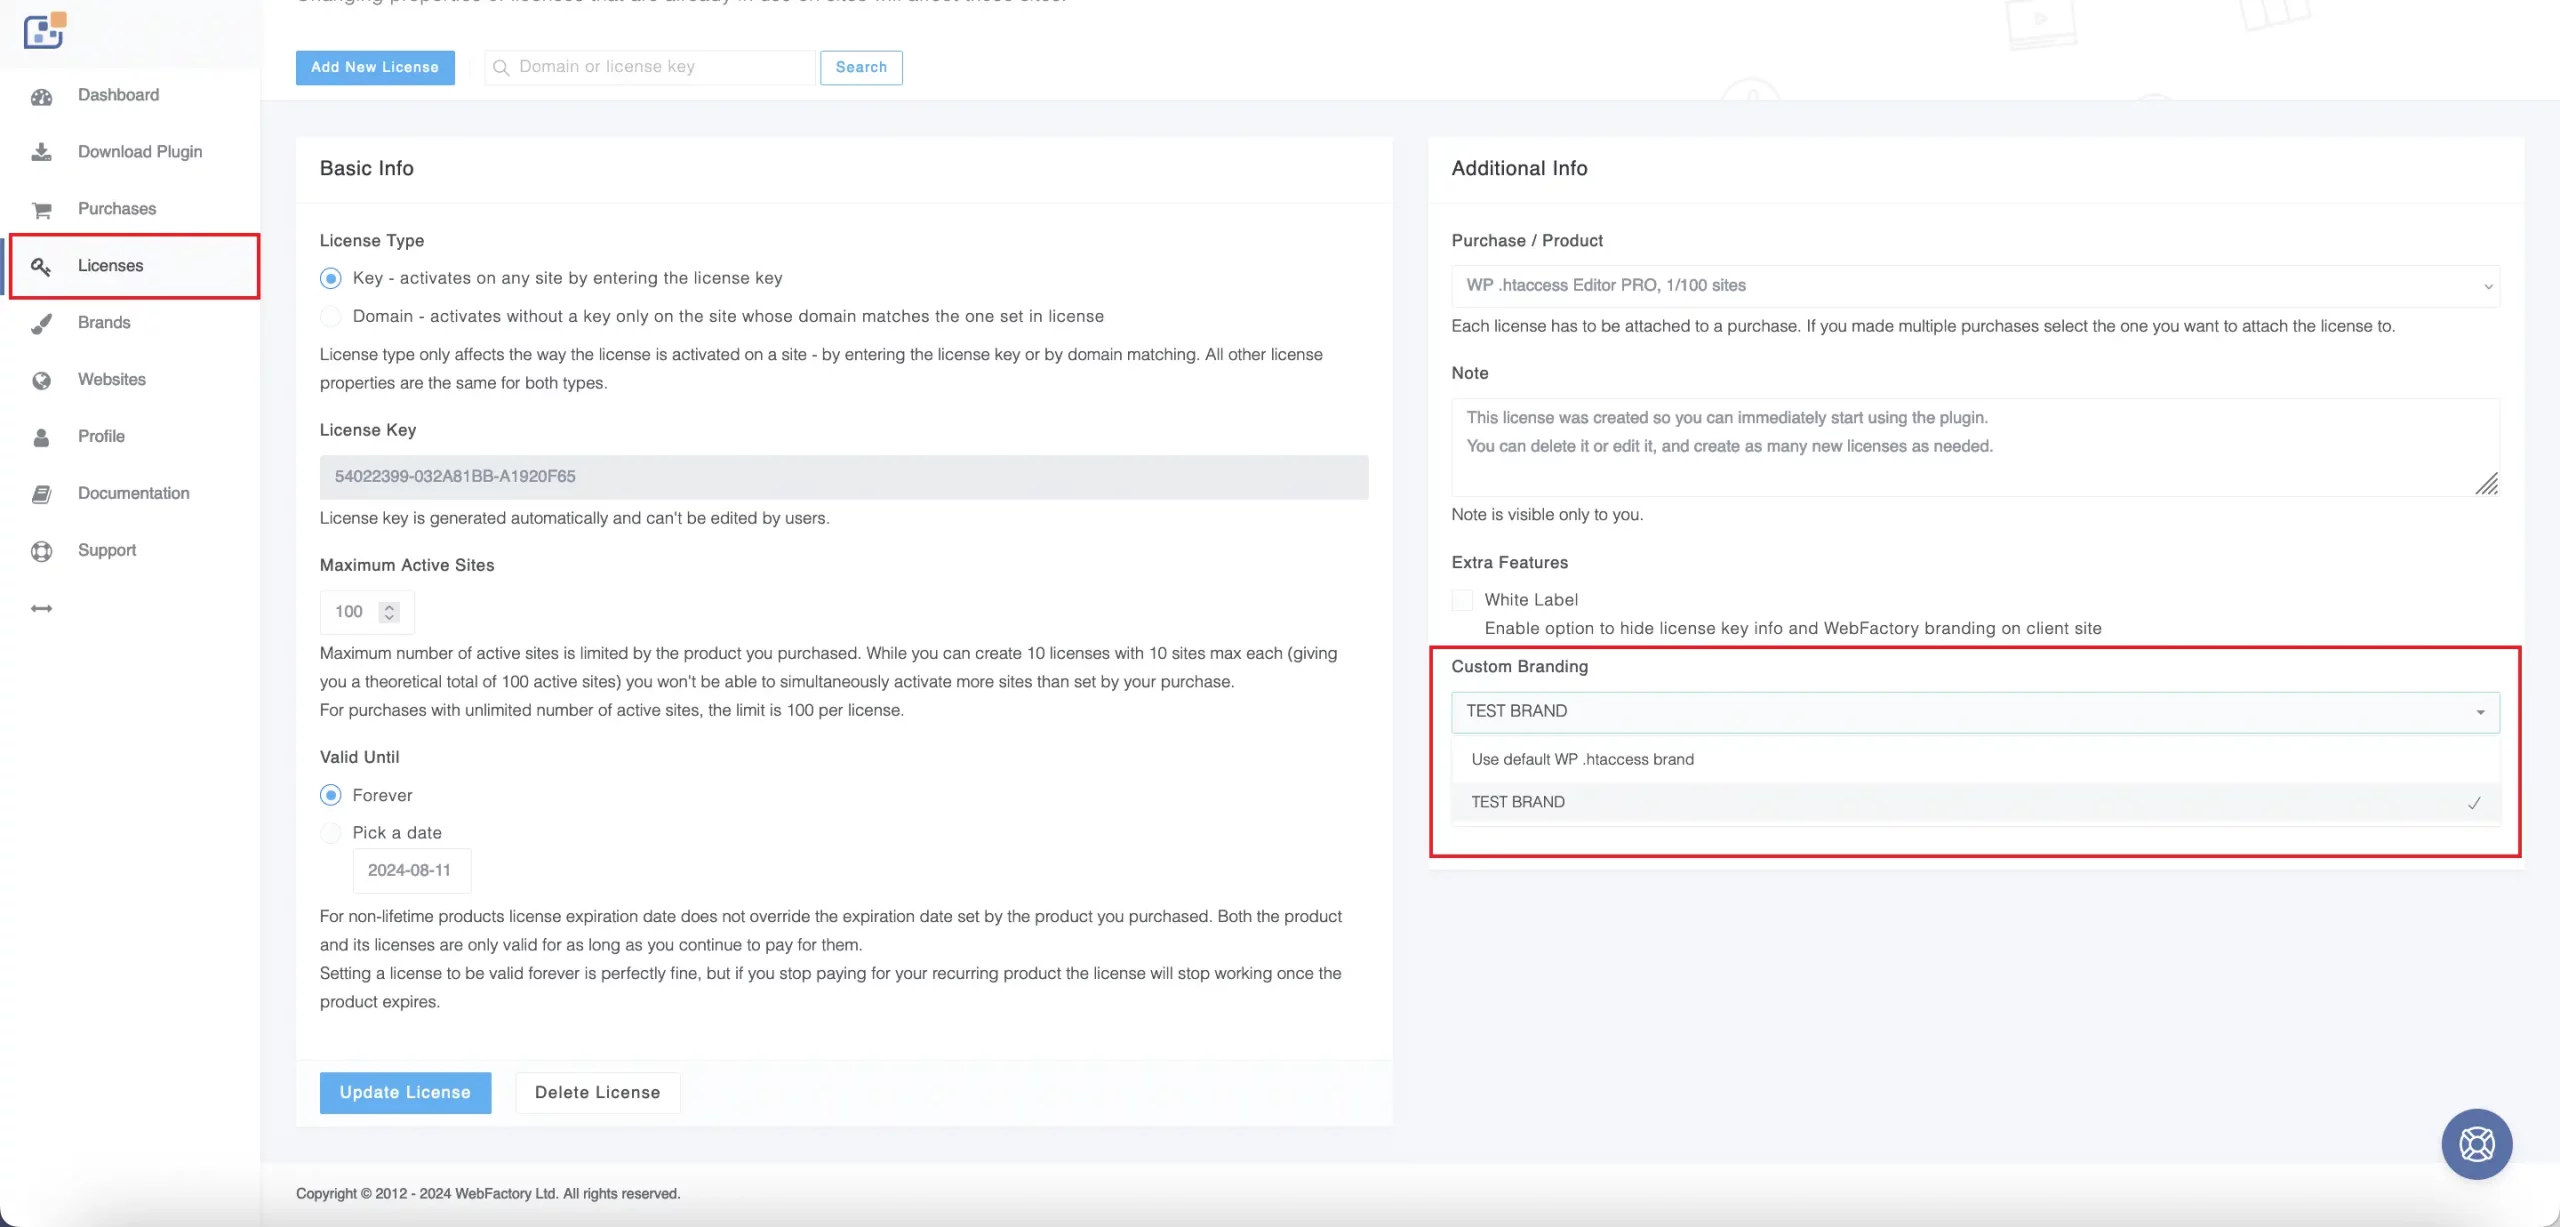
- To use a brand on a site, you have to attach the brand to the license the site uses.
- Go to the “Licenses” section, edit the desired license, and select the brand from the dropdown menu.
By following these steps, you can easily rebrand the WP htaccess Editor plugin to reflect your company’s identity, impress your clients, and enhance your brand visibility. If you need further assistance, please refer to the support section in the dashboard or contact our support team.