Welcome to the WP htaccess Editor Dashboard! This guide will help you navigate through the dashboard and understand each section’s functionality. Let’s get started!
Dashboard Overview
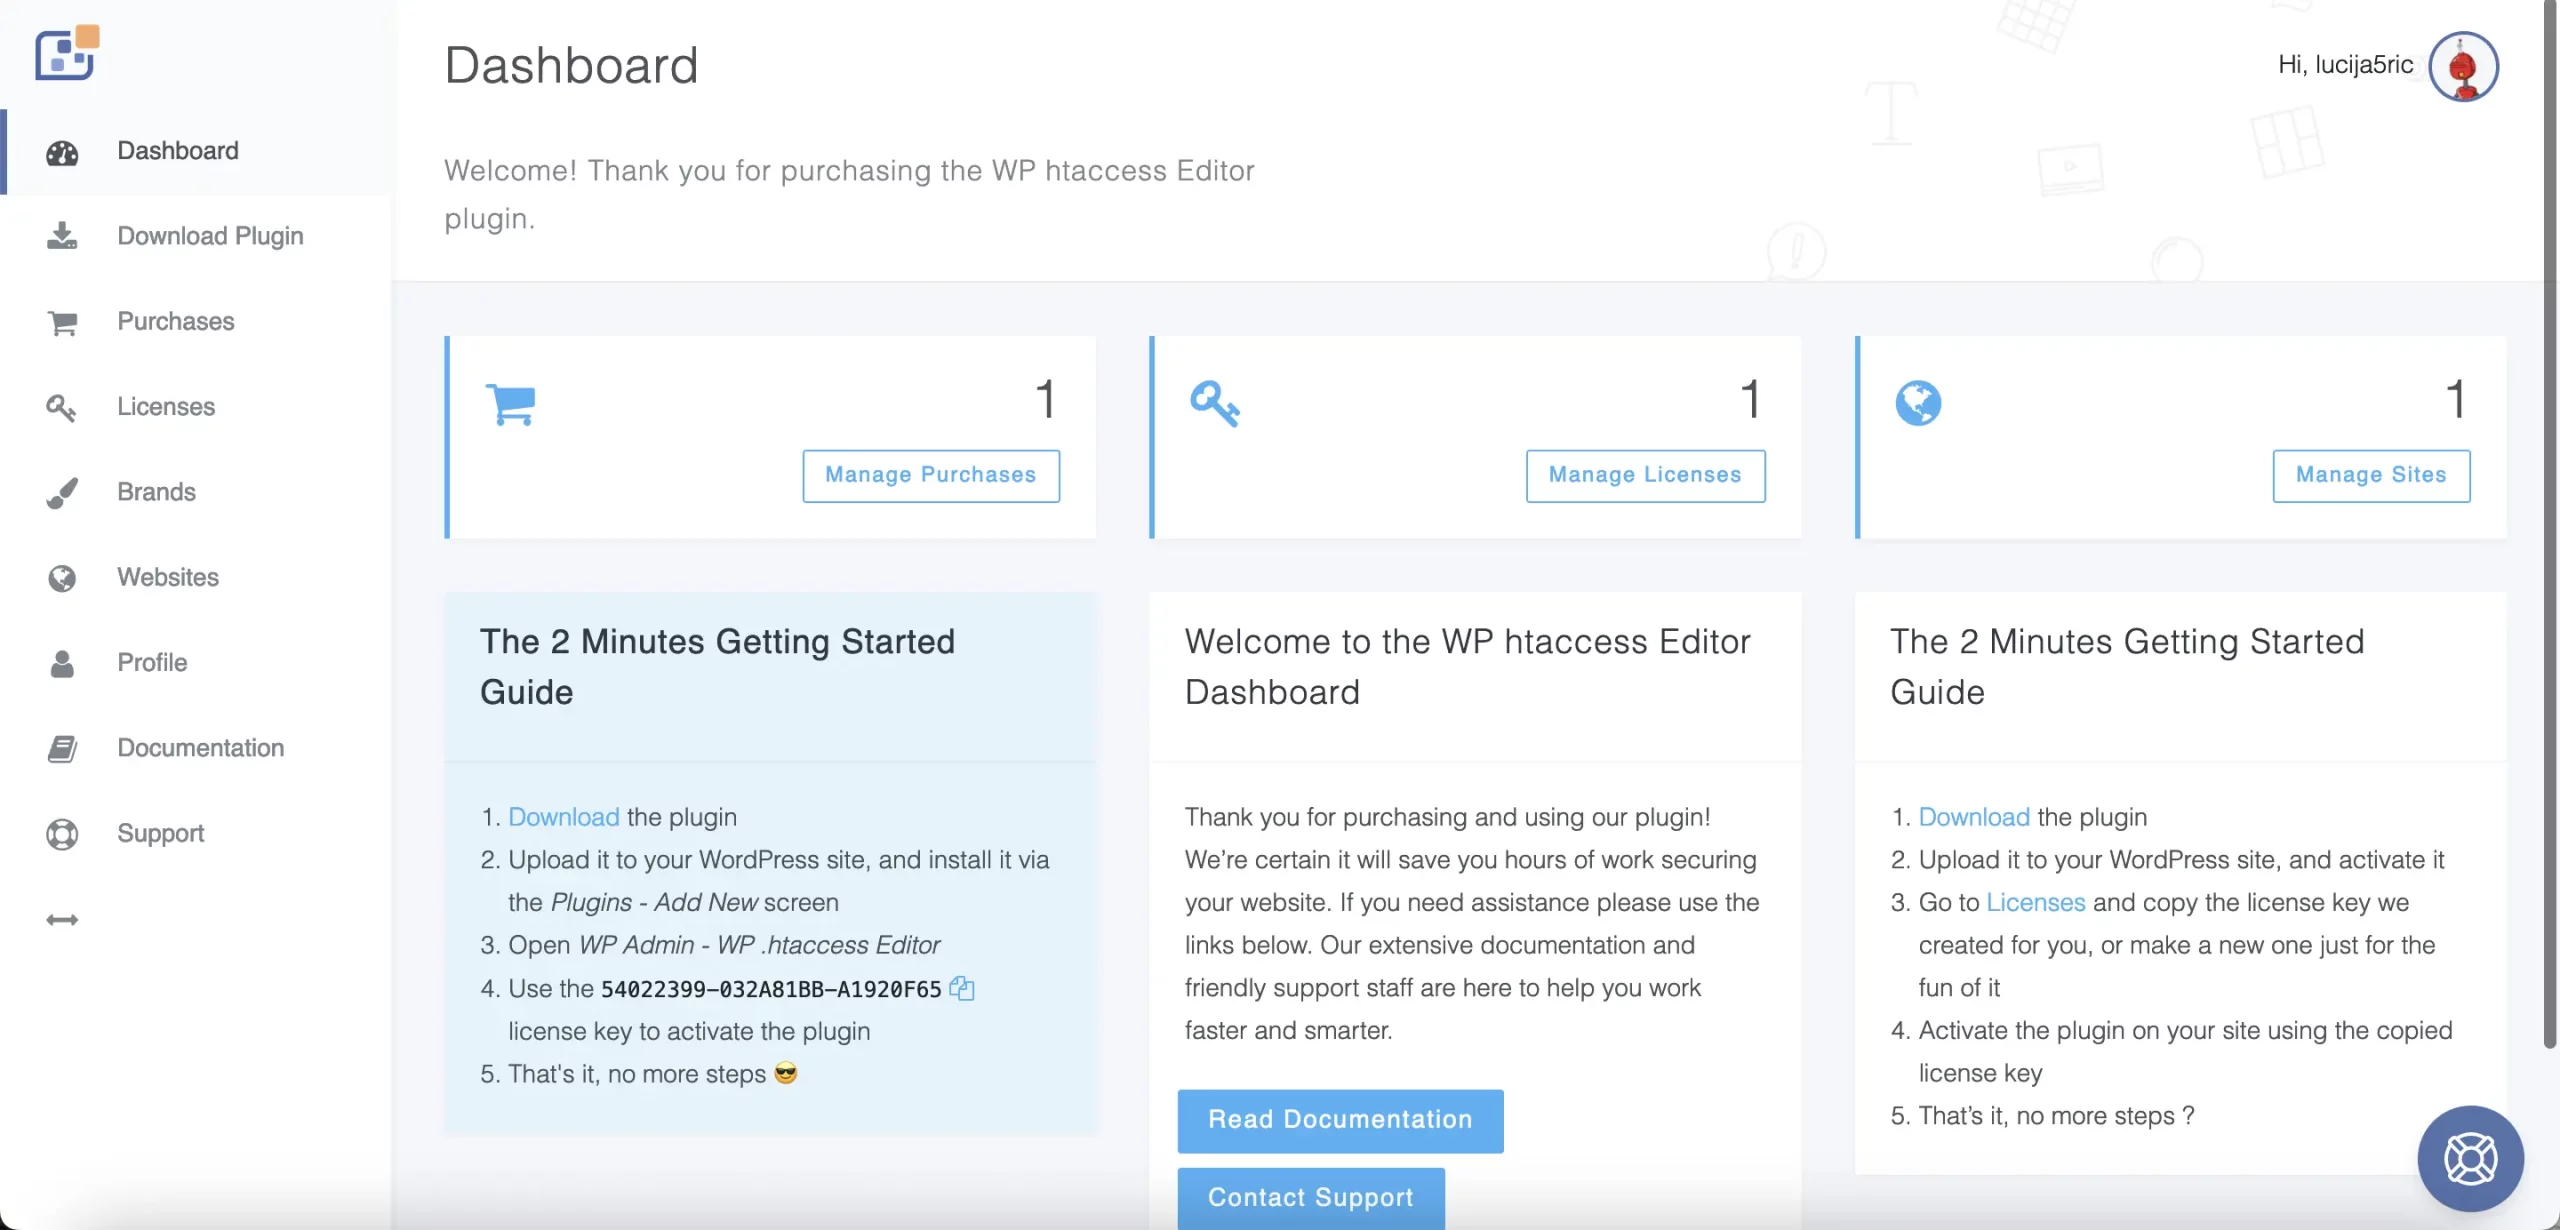
When you first log in to the WP htaccess Editor Dashboard, you will see an overview screen that provides a summary of your purchases, licenses, and sites. Here’s a breakdown of each section:
Menu Navigation
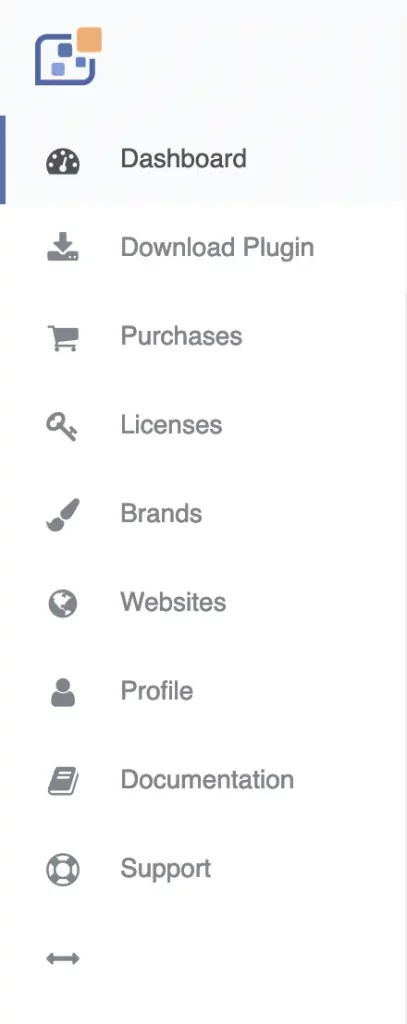
On the left-hand side, you will see the main menu. Here’s what each menu item does:
-
Dashboard
- This is where you’ll find a summary of your account, including the number of purchases, licenses, and active sites.
- Use the “Manage Purchases” and “Manage Licenses” buttons to view and edit your purchases and licenses.
-
Download Plugin
- Click here to download the WP htaccess Editor plugin.
-
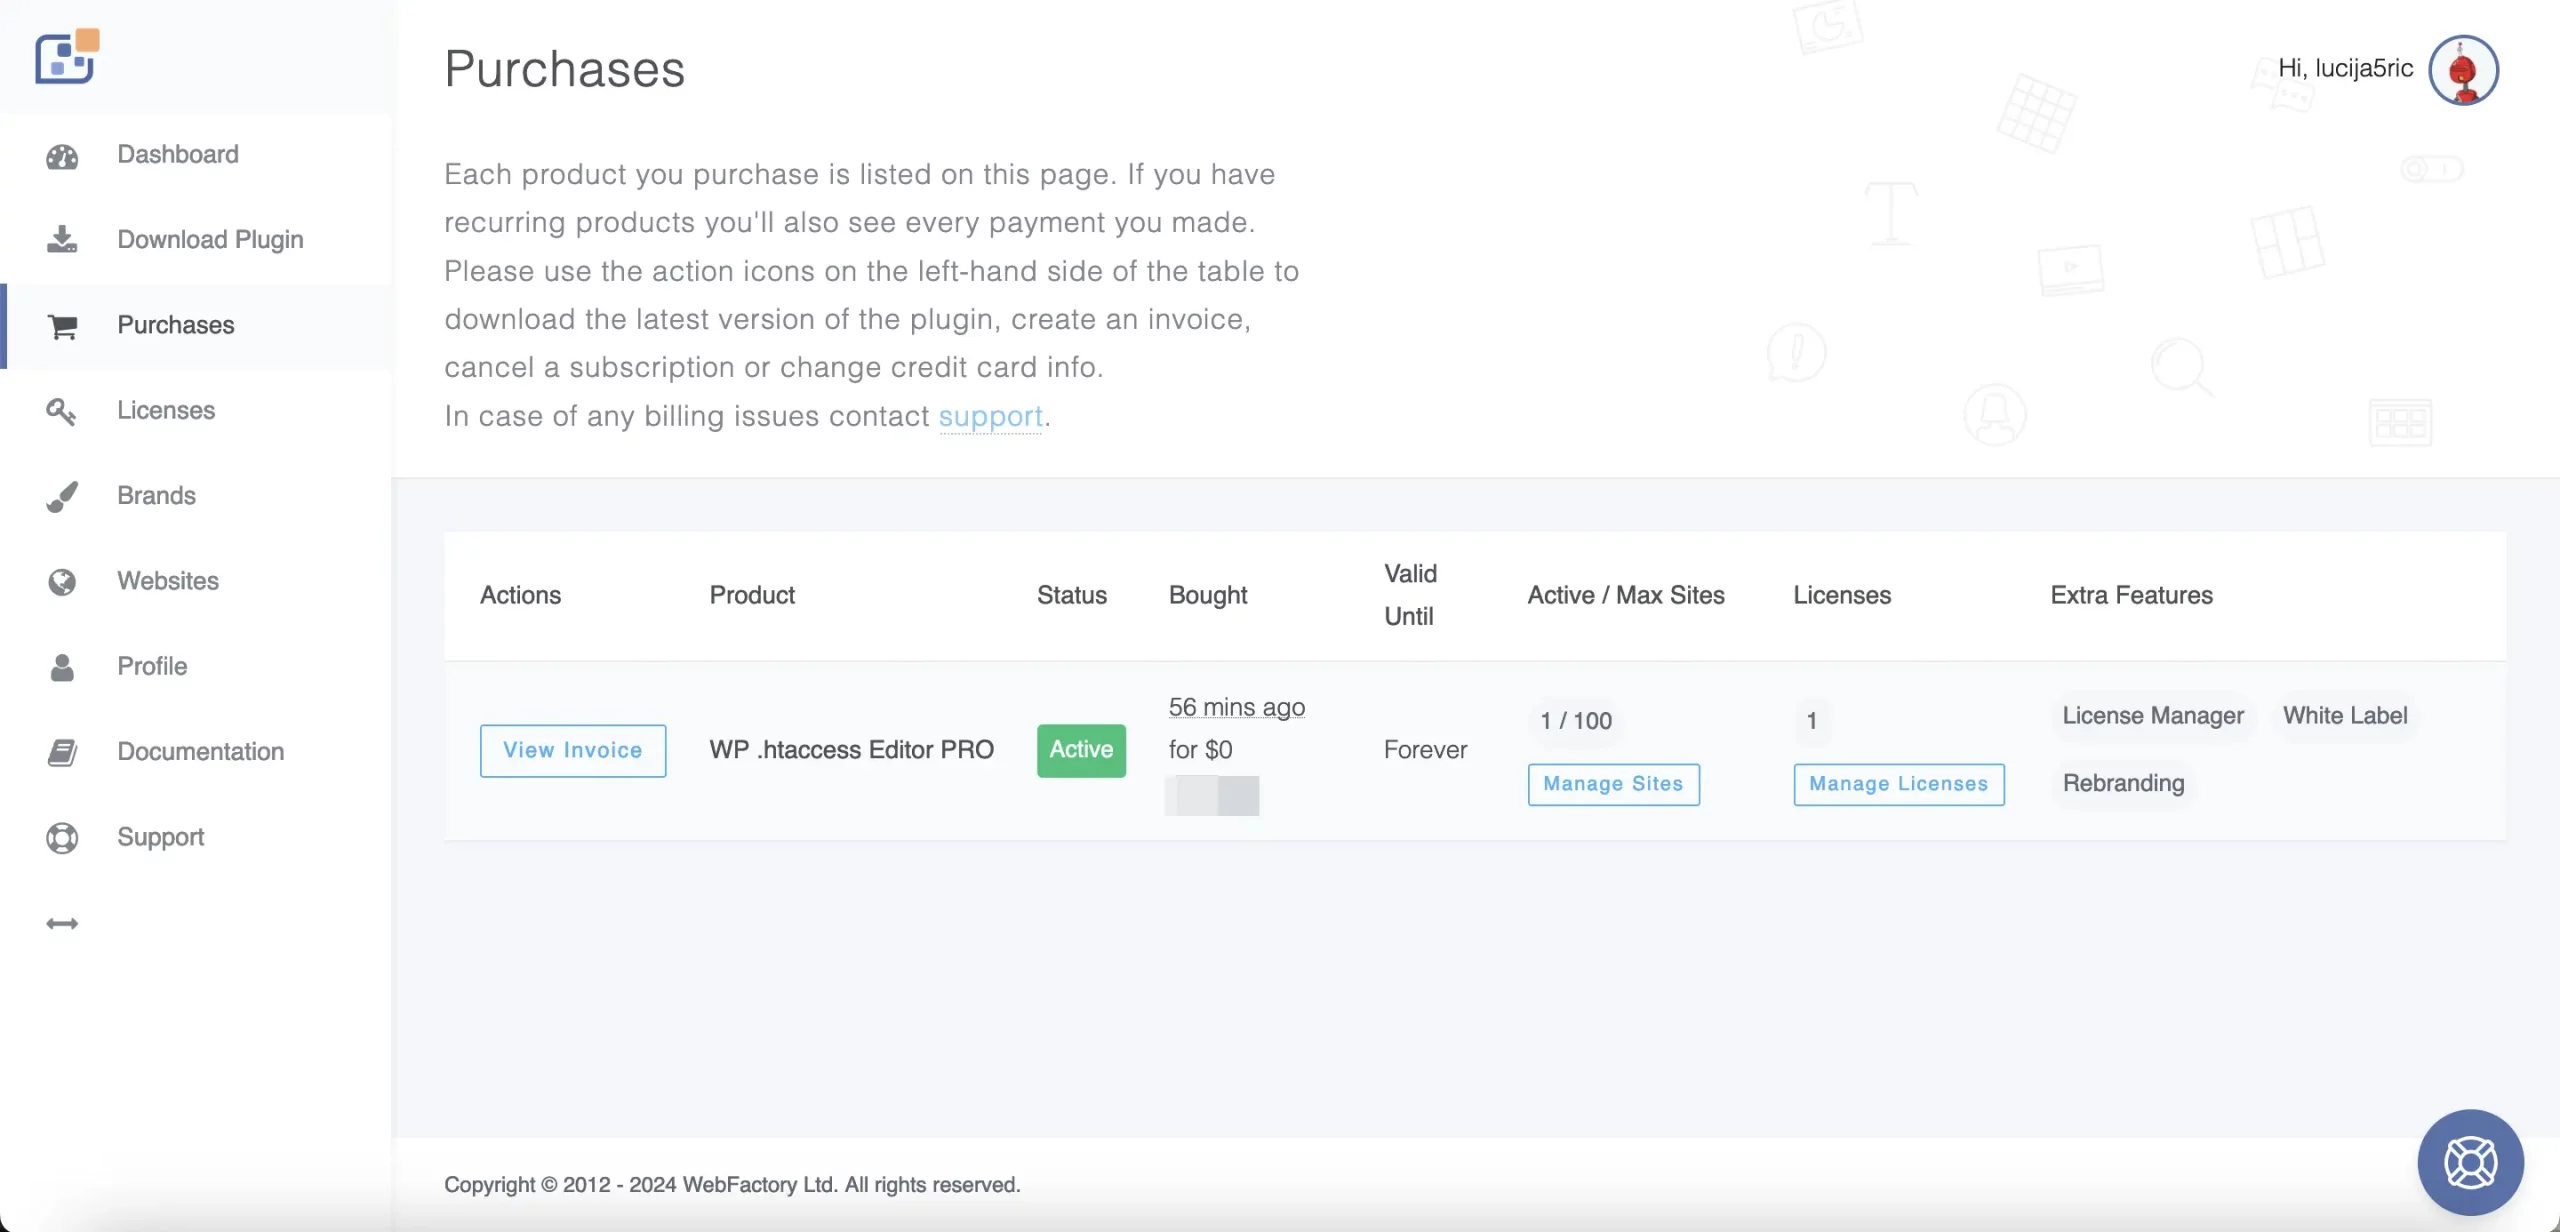
Purchases
- View and manage all your purchases. Here you can view invoices, download the latest version of the plugin, and manage your subscriptions.
- View and manage all your purchases. Here you can view invoices, download the latest version of the plugin, and manage your subscriptions.
-
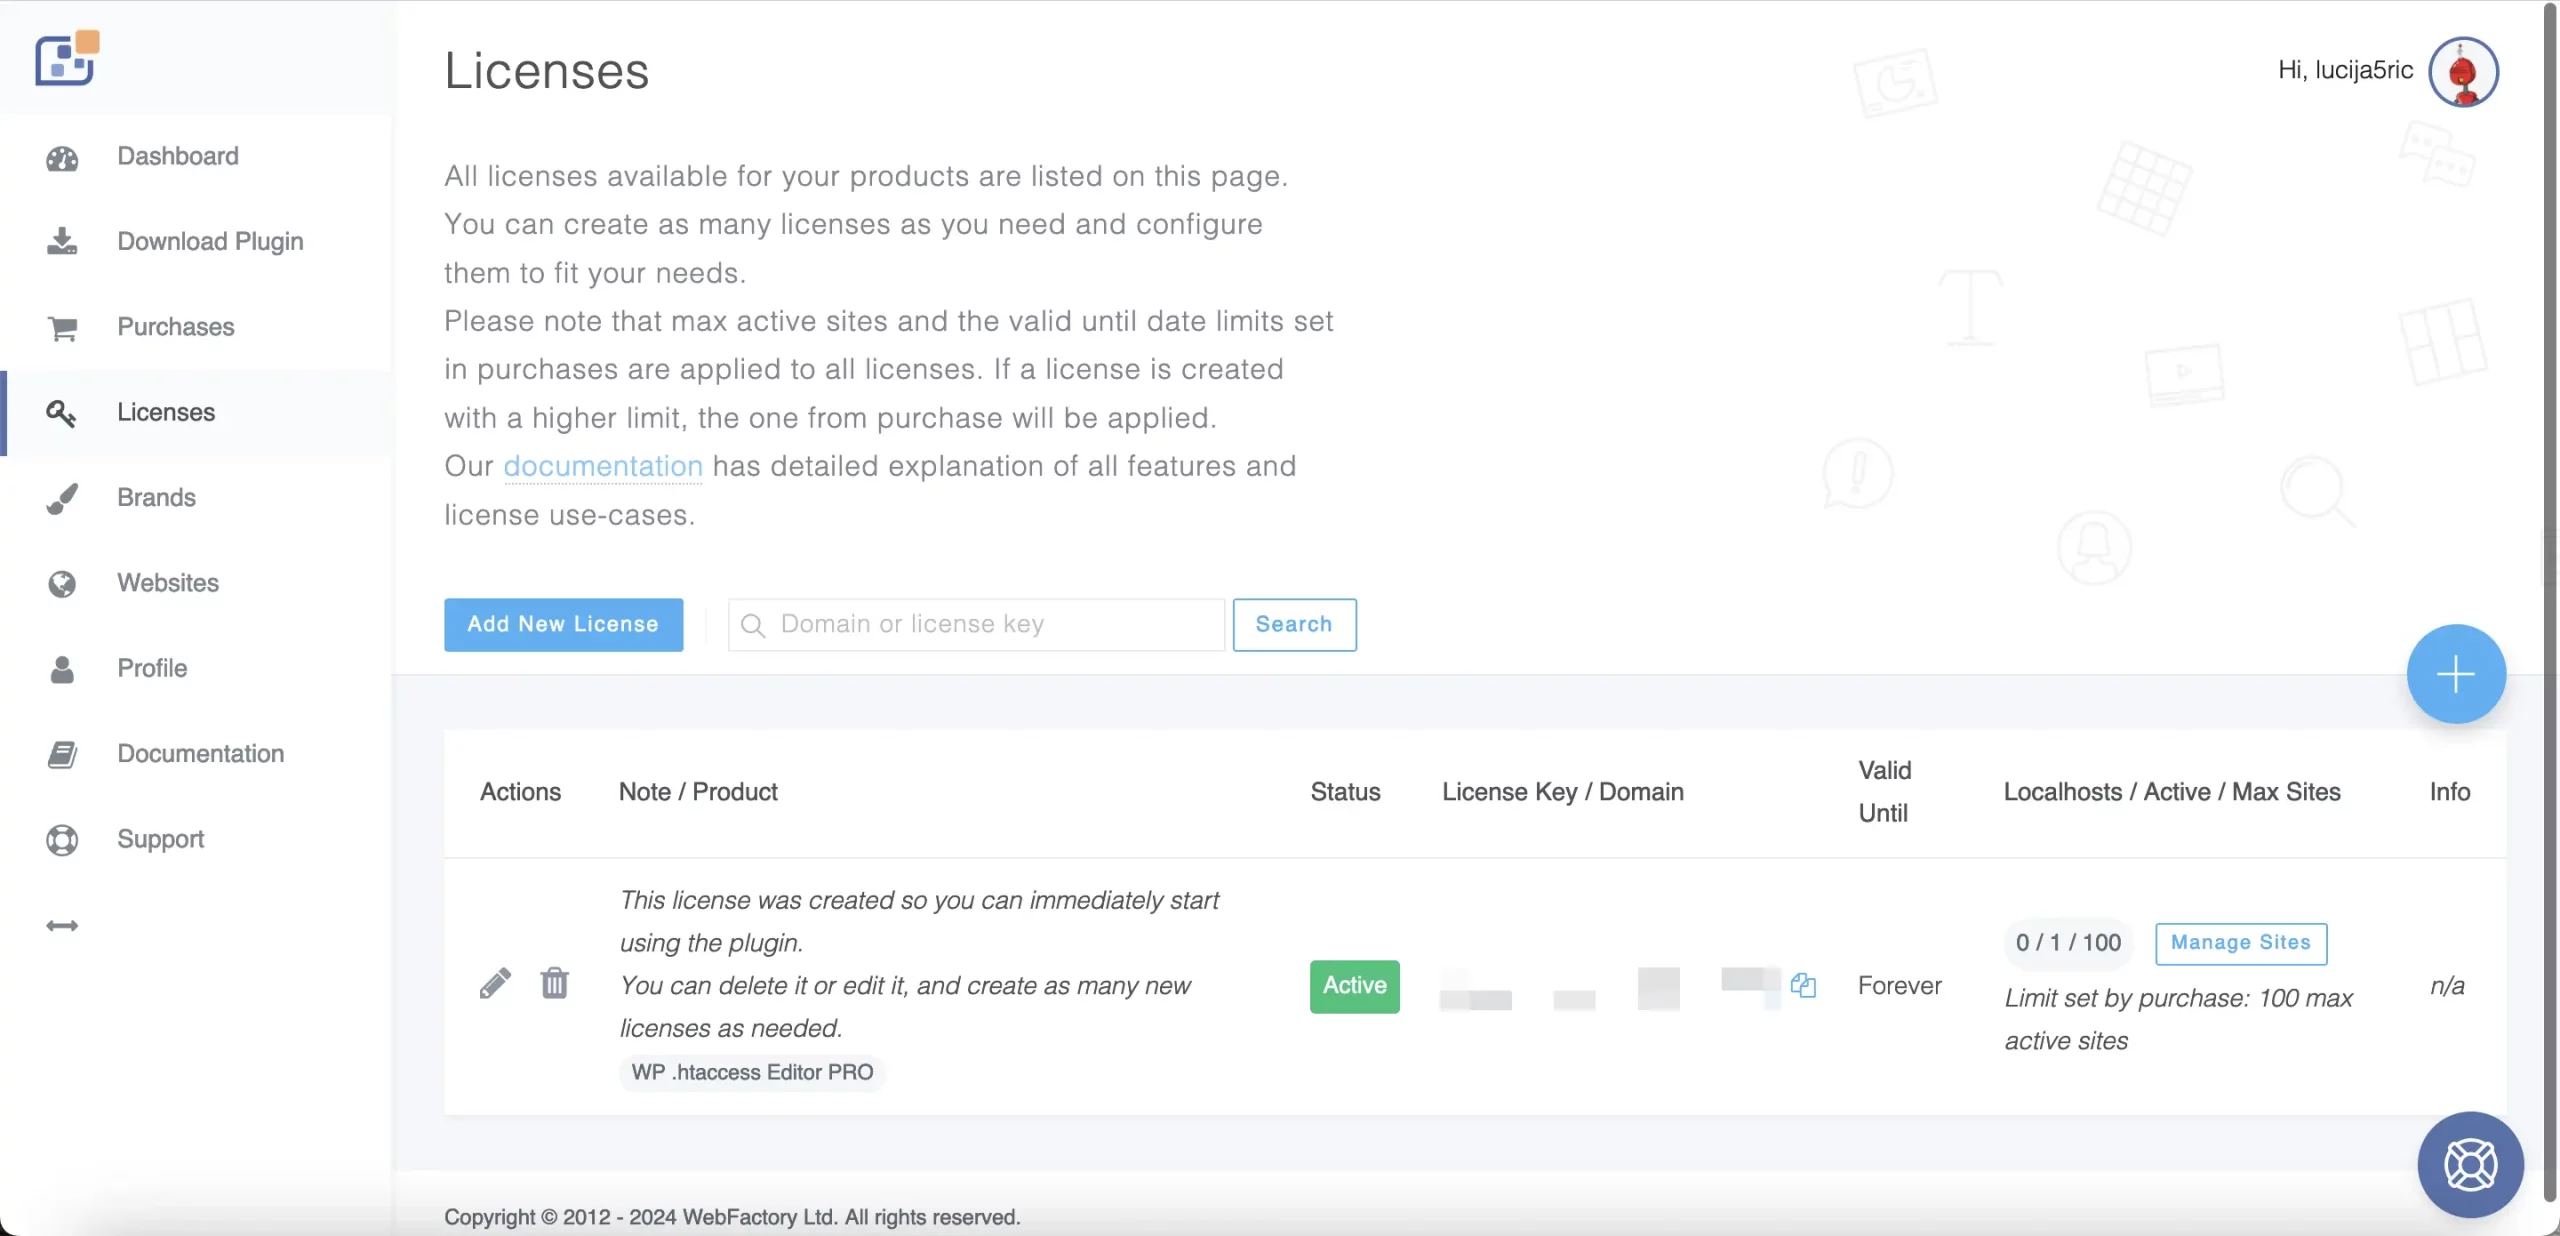
Licenses
- This section shows all the licenses available for your products. You can create new licenses, view existing ones, and manage them as needed.
- This section shows all the licenses available for your products. You can create new licenses, view existing ones, and manage them as needed.
-
Brands
- Rebrand the WP htaccess Editor plugin with your own name, logo, colors, and description to impress your clients. Create new versions (brands) of the plugin.
-
Websites
- Manage the sites where you have activated the WP htaccess Editor plugin. You can see the status of each site, block sites, and manage licenses associated with each site.
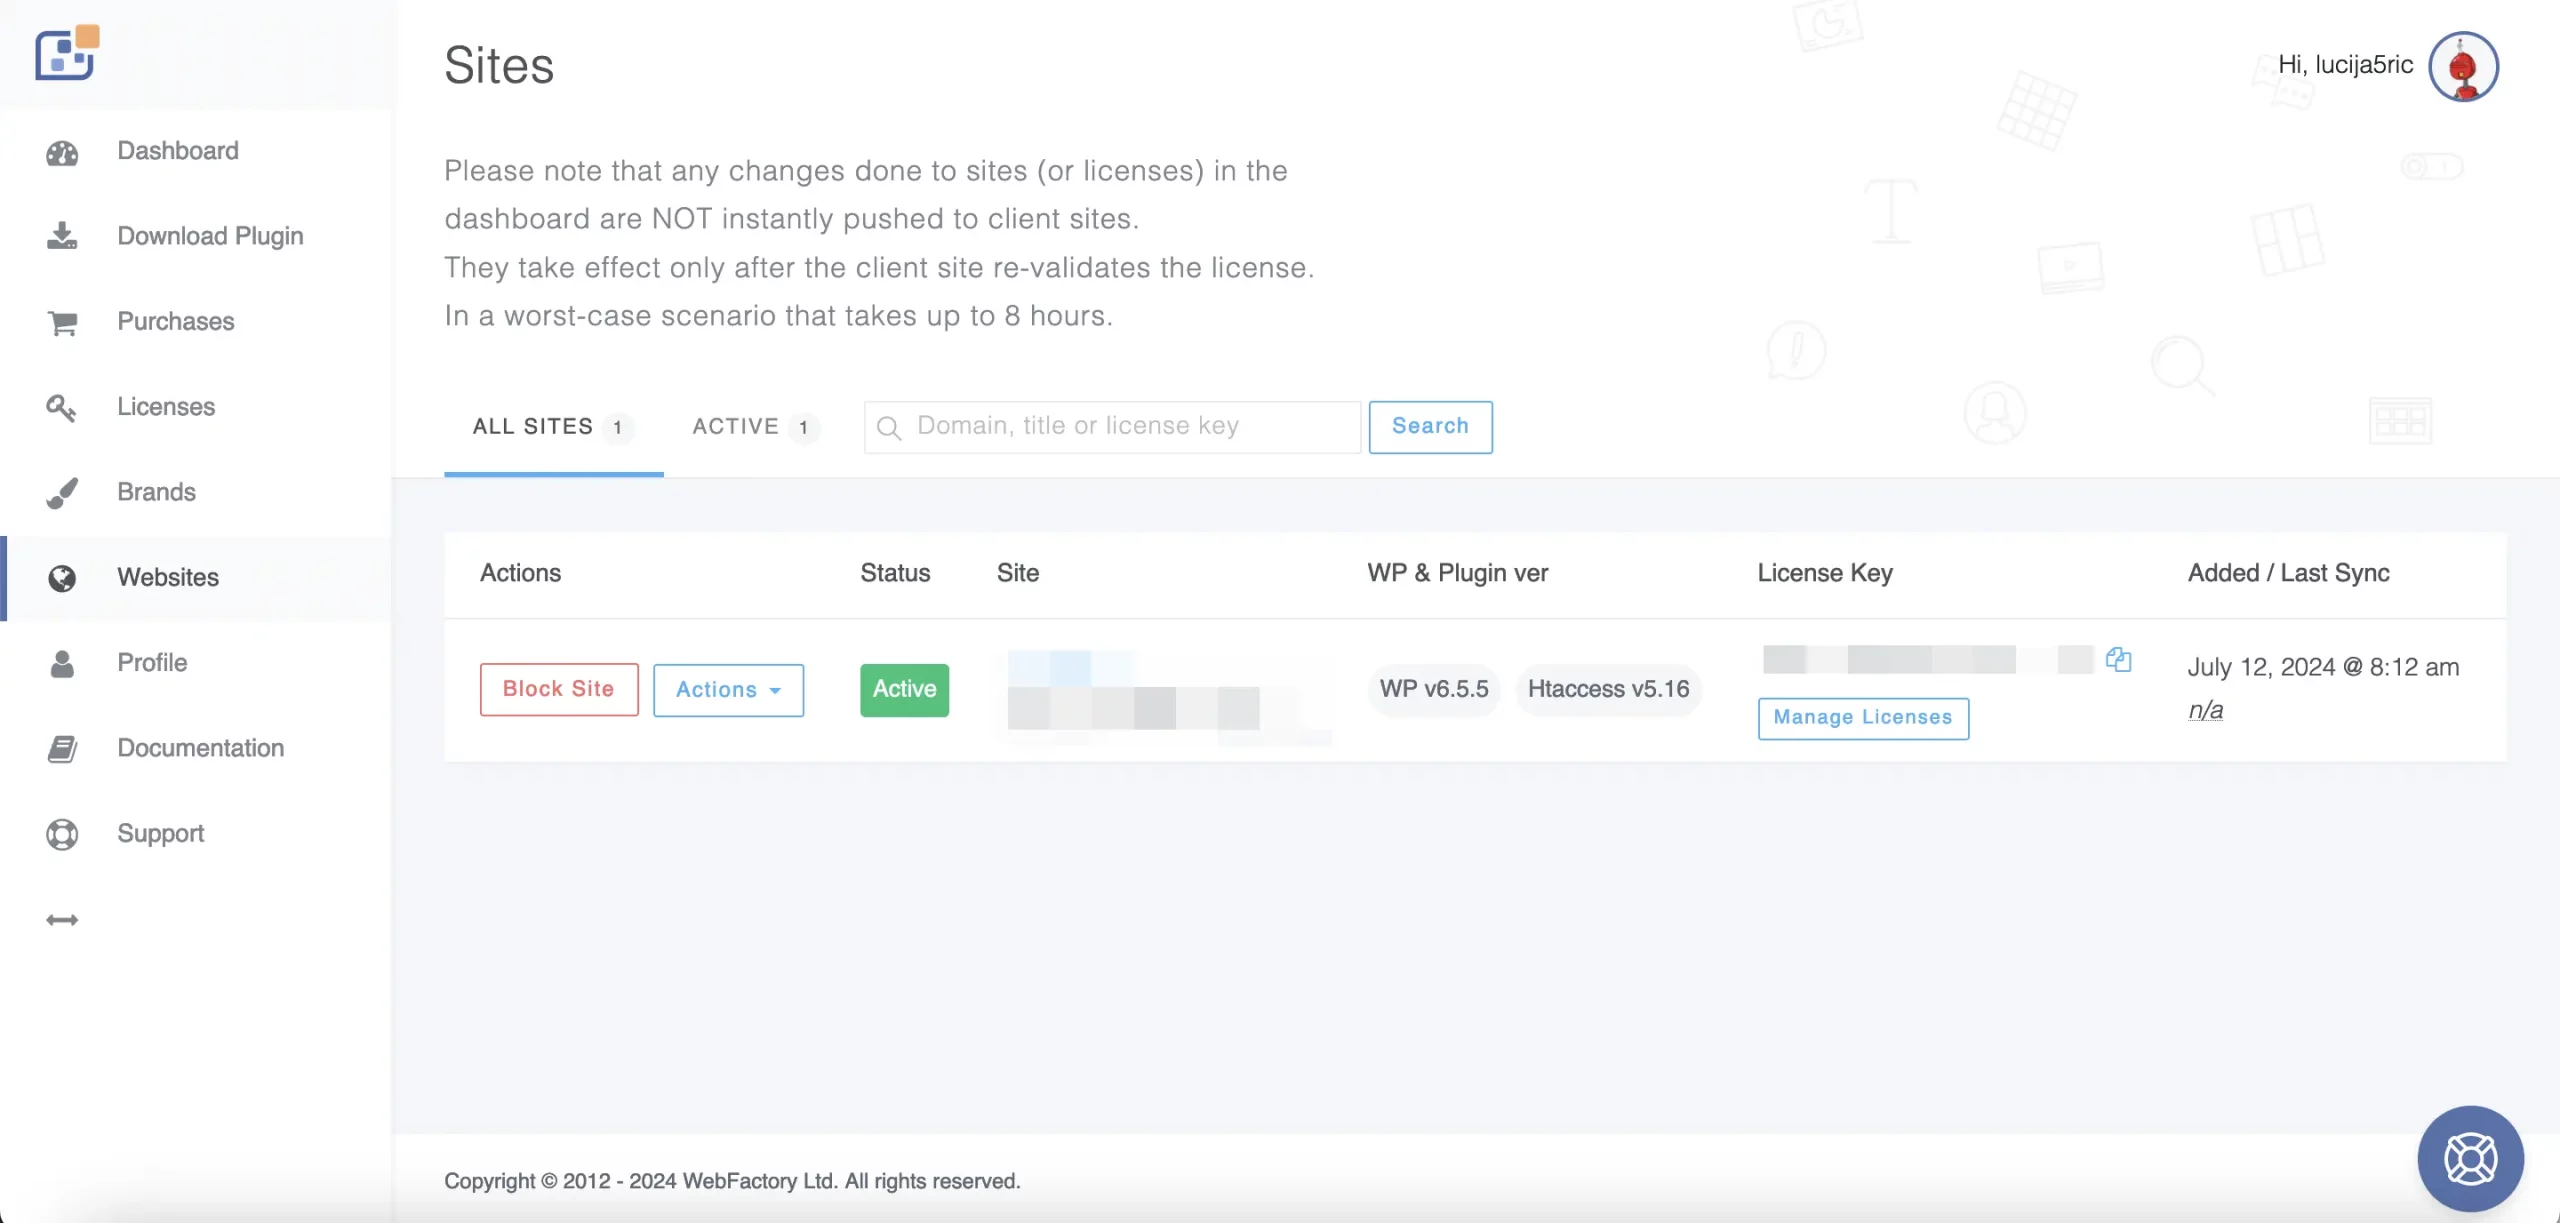
- Manage the sites where you have activated the WP htaccess Editor plugin. You can see the status of each site, block sites, and manage licenses associated with each site.
-
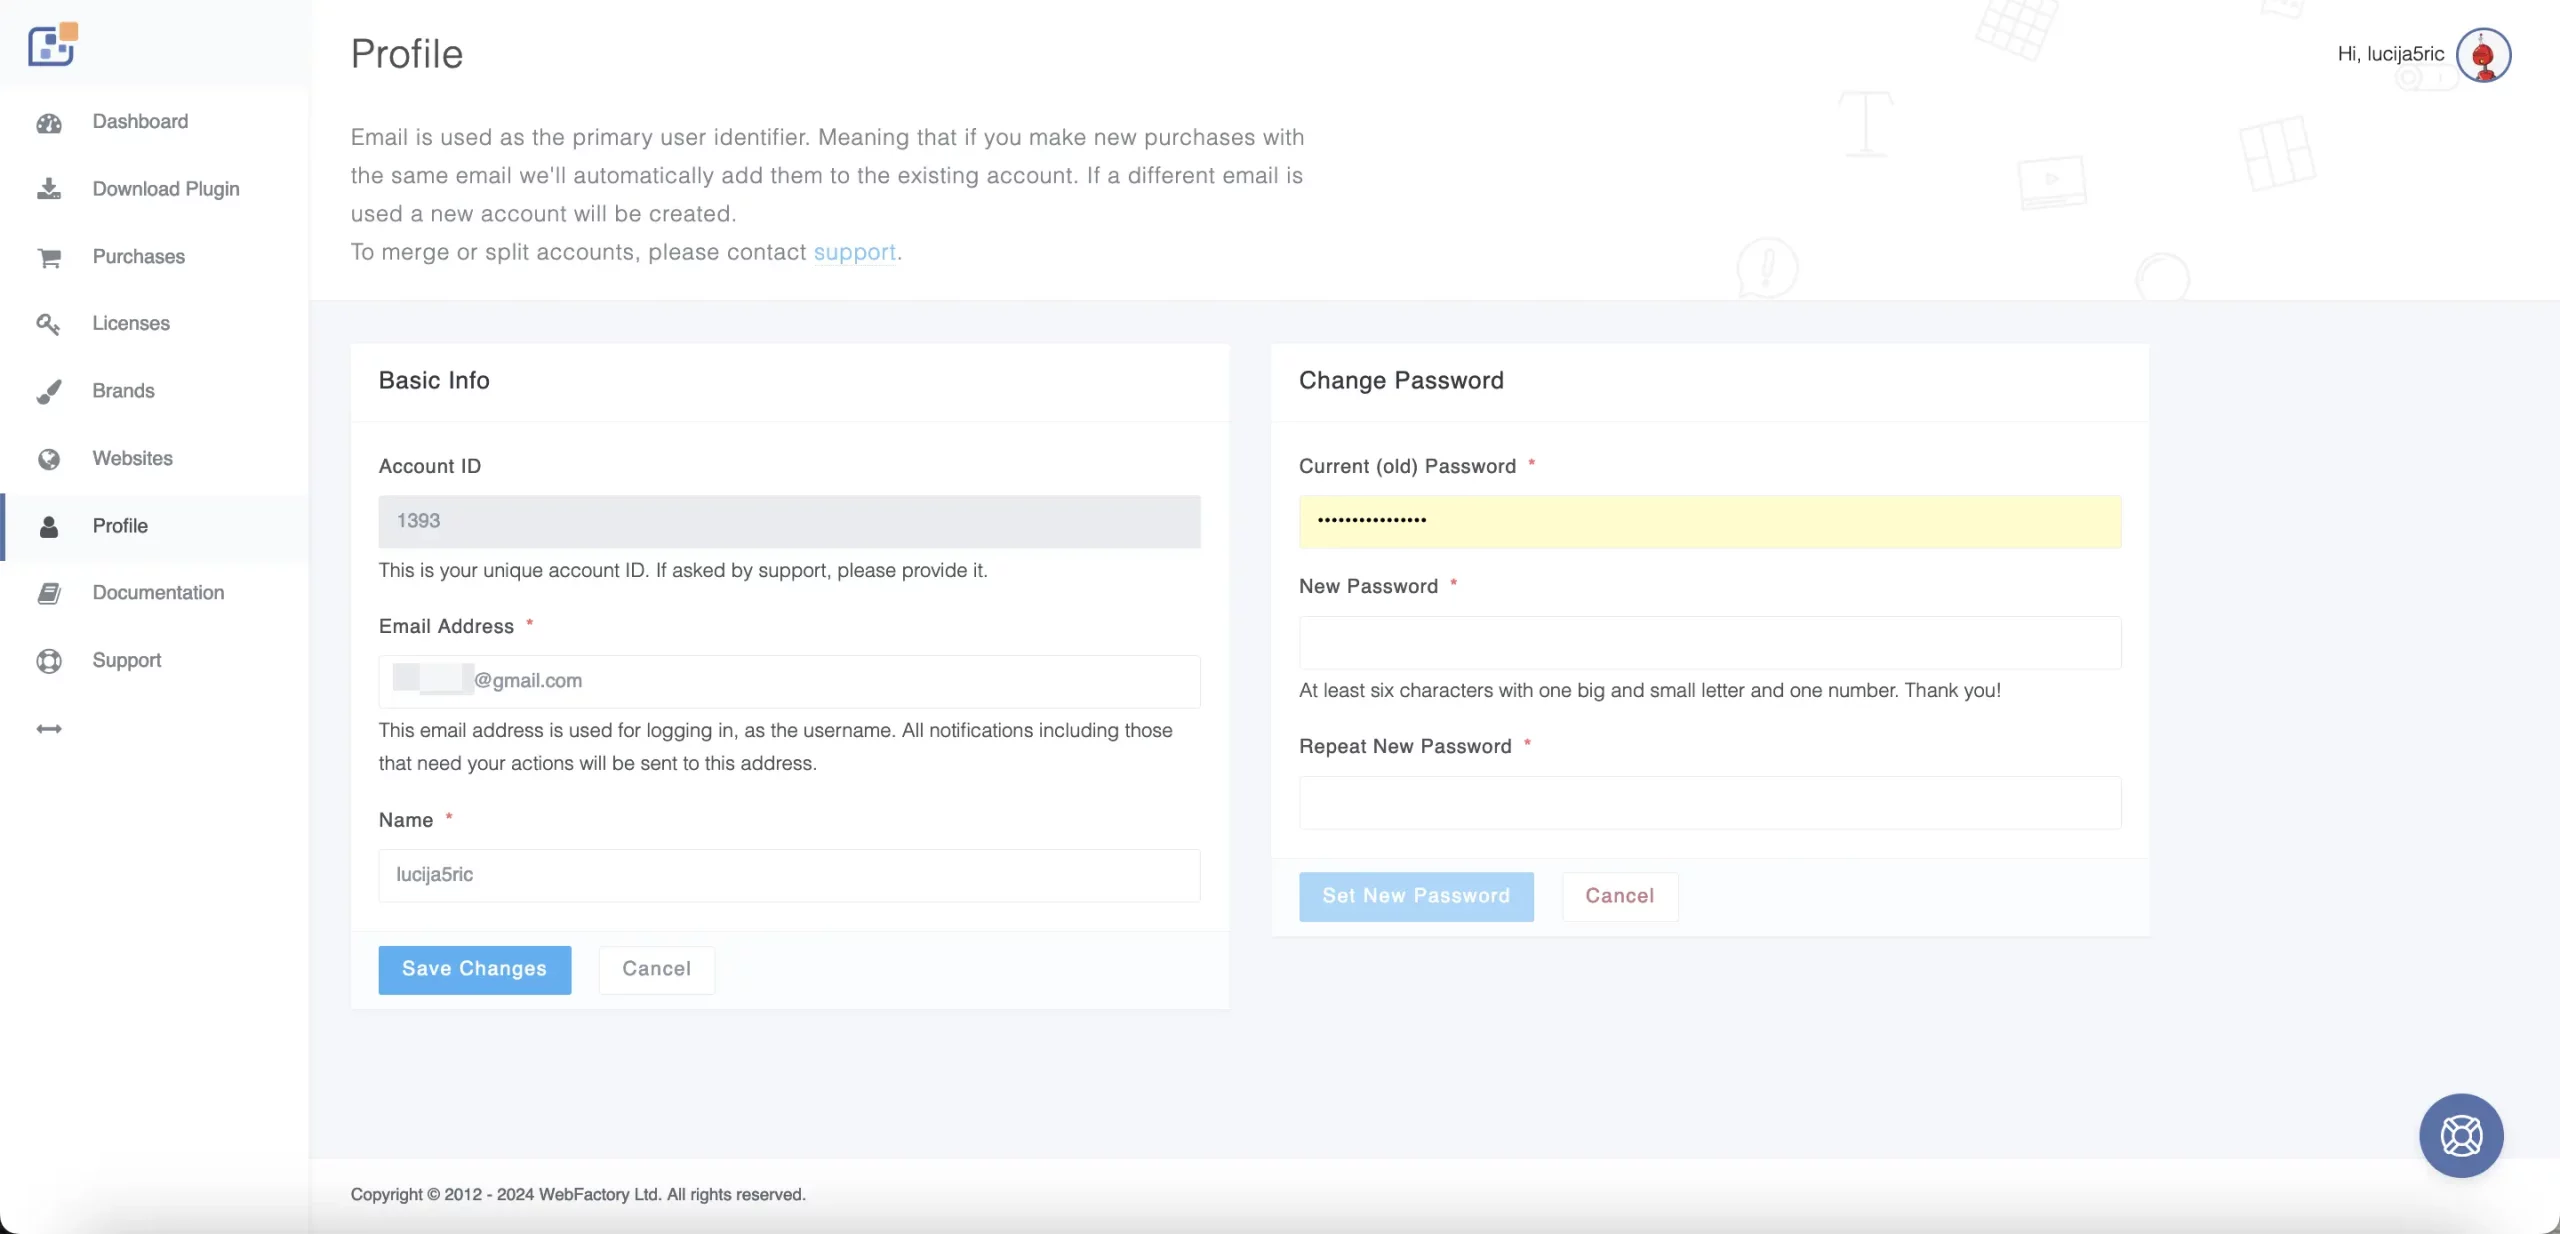
Profile
- Update your profile information, change your password, and manage your account settings.
- Update your profile information, change your password, and manage your account settings.
-
Documentation
- Access detailed documentation for the WP htaccess Editor plugin. This section includes guides and FAQs to help you make the most out of the plugin.
- Clicking this will take you to Documentation.
-
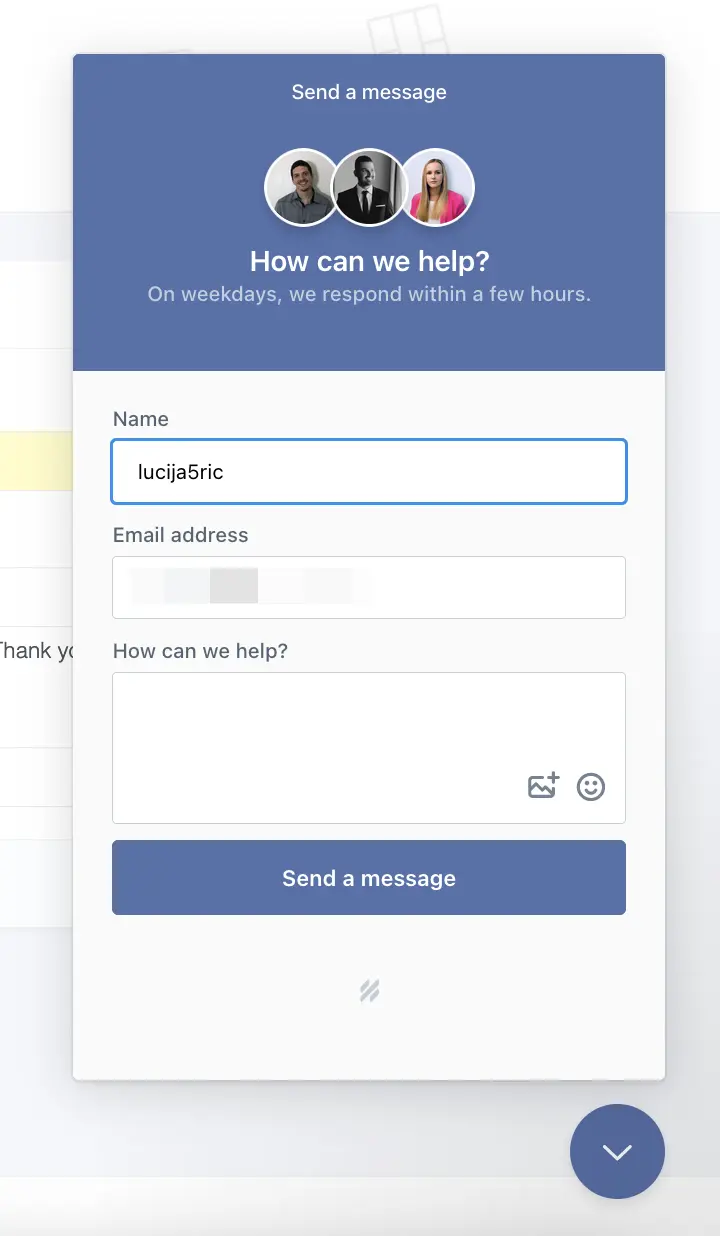
Support
- Access support if you need any help. Clicking this will open a chat window where you can get in touch with our support team.
- Access support if you need any help. Clicking this will open a chat window where you can get in touch with our support team.
Additional Tips
- Contact Widget: The contact widget is available at the bottom right corner of the dashboard and the plugin interface. Use it to get quick support.
- Getting Started Guide: When you first log in, you will see a pop-up message with a quick start guide. This guide provides step-by-step instructions to download, install, and activate the plugin.