
Upgrading a dedicated server sounds scary. But don’t worry! It’s like giving your server a cool new outfit and a power boost. Let’s walk through how to handle server upgrades without the technical headaches.
Why Upgrade Your Server?
Your dedicated server works hard. Over time, it might start to feel a little sluggish. Maybe your site is getting more traffic. Maybe you want better security. Upgrades keep things fast, safe, and smooth.
Here are a few common reasons to upgrade:
- Performance boosts – More RAM and CPU means faster processing.
- Storage upgrades – More disk space allows more data and files.
- Security updates – New systems close old vulnerabilities.
- Software compatibility – New apps need modern setups.
Step 1: Make a Plan
Don’t just dive in. Think first!
Ask yourself:
- What do I want to upgrade?
- What will it cost?
- Will my site or services be offline?
Talk to your hosting provider. They might offer upgrade options. Some changes can happen with zero downtime!
Step 2: Create a Backup
This is super important!
Always back up your data before doing anything.
You can use tools like:
- cPanel Backup Wizard
- Rsync for Linux servers
- Remote snapshots
Store this backup somewhere safe. Like another server, or the cloud.
Step 3: Choose the Right Time
Pick a time when fewer people use your site. Late nights or weekends might work best.
If your server runs apps 24/7, schedule a maintenance window and let your users know ahead of time.
Step 4: Start the Upgrade
This part depends on what you’re upgrading.
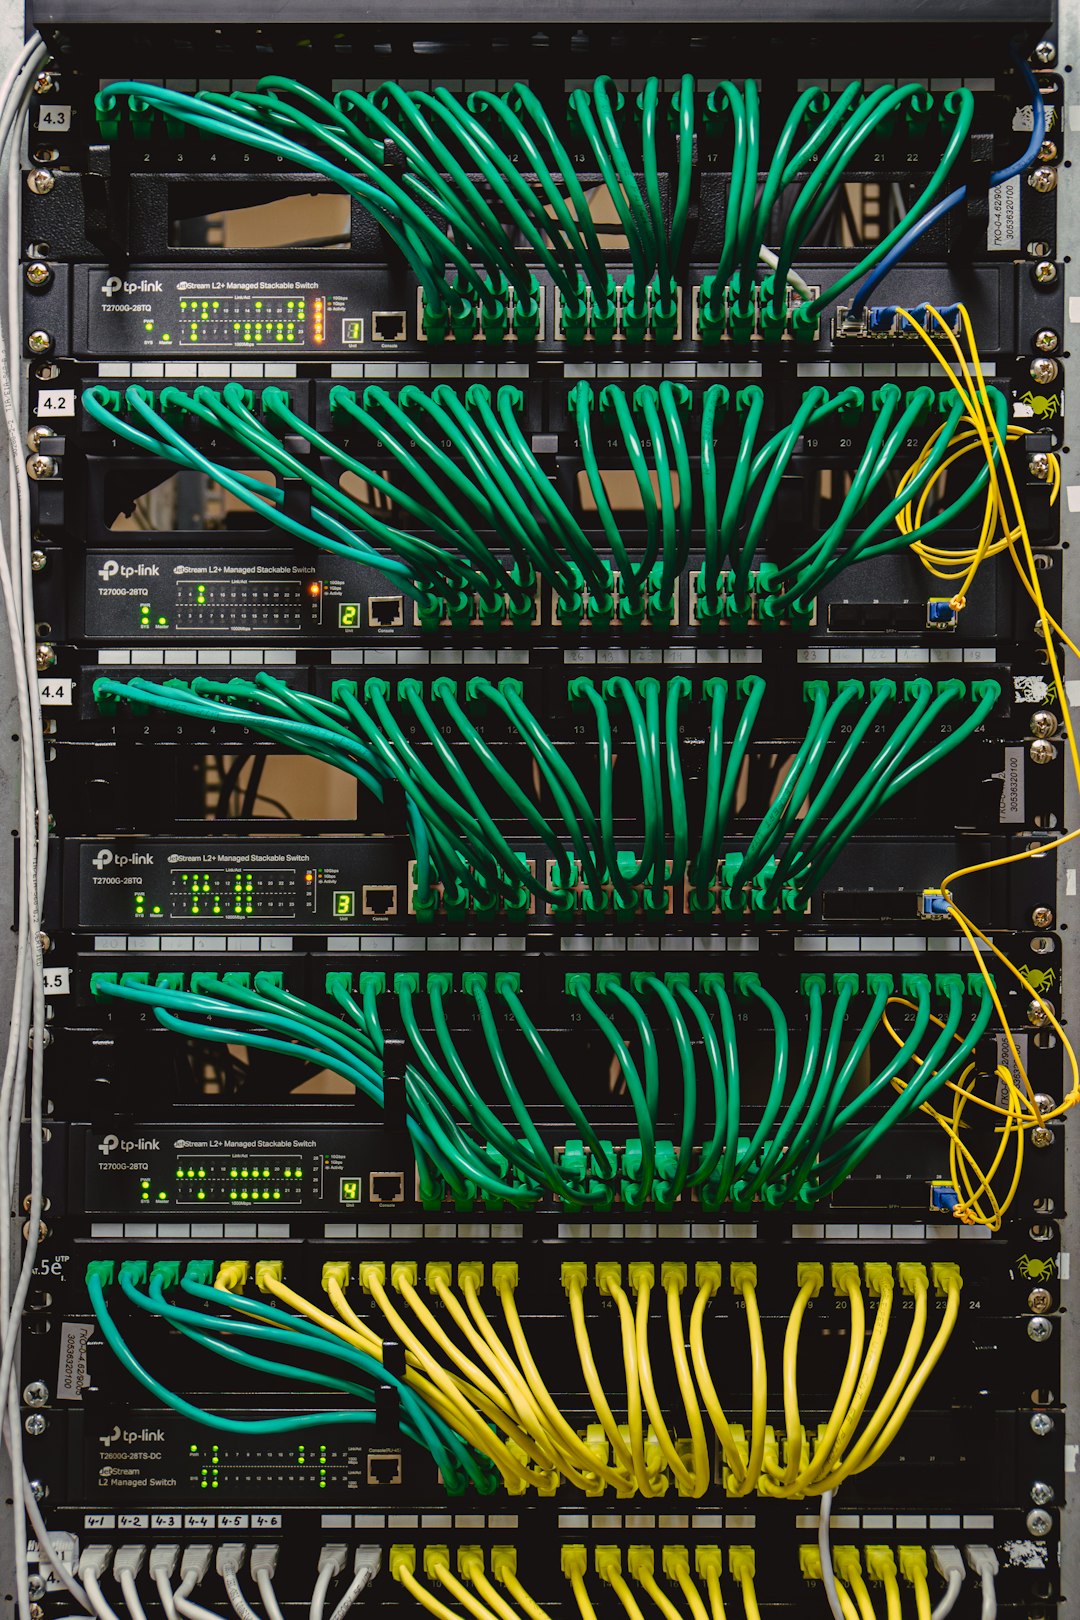
Hardware Upgrades
You may need your provider’s help. They’ll physically add more RAM, switch in a better CPU, or upgrade your hard drive.
Software Upgrades
These are things you can often do yourself. For example:
- OS upgrades – Moving from Ubuntu 20.04 to Ubuntu 22.04.
- Panel upgrades – Like updating to the latest cPanel version.
- Database updates – From MySQL 5.7 to 8.0.
Tip: Always read upgrade guides before you click anything!
Step 5: Test Everything
Once the upgrade is done, check all the things!
Test your website. Try logging in. Open your databases. Run your main services. Make sure emails still send and scripts still work.
If something seems weird, don’t panic. That’s why you made a backup!
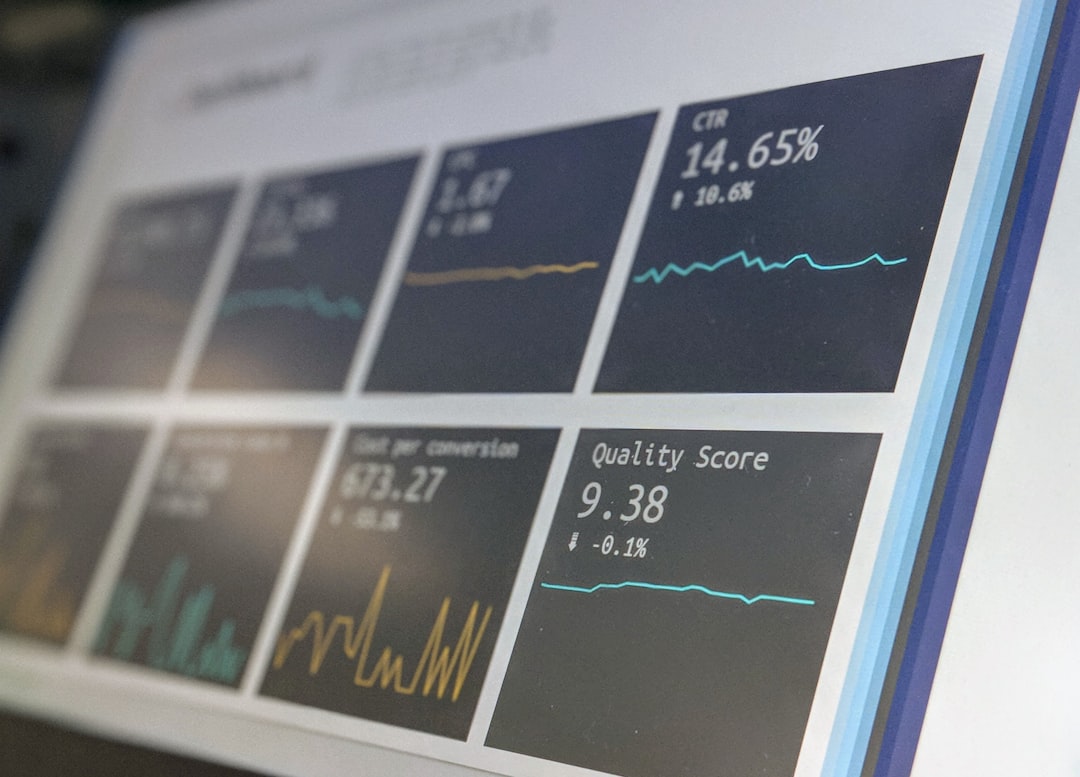
Step 6: Monitor After the Upgrade
Watch your server for the next day or two.
Keep an eye on:
- CPU load
- Memory usage
- Disk space
- Error logs
Tools like htop, netdata, or your control panel dashboard can help.
Bonus Tip: Automation & Help
If you upgrade often, try using automation tools like:
- Ansible
- Chef
- Puppet
Or consider getting managed support. That’s when pros handle all the boring stuff so you can focus on your website or app.
Final Thoughts
Server upgrades don’t have to be scary. Plan well. Backup everything. Choose a good time. And test, test, test!
With each upgrade, your server becomes stronger, faster, and better.
Think of it like giving it a shiny new engine. Vroom, vroom!